Spring AI Roles Tutorial
Author: Yakambram K
This tutorial will guide you through using roles in Spring AI to define and manage the behavior and permissions
of AI interactions. Roles in Spring AI help control the context and functionality of AI models, allowing you to tailor
interactions based on specific roles such as system, user, assistant, and function.
Introduction
The evolution of prompts in AI has transitioned from basic, straightforward text to more organized and complex
formats with specific roles and structures. Initially, prompts were simple strings. Over time, they evolved to
include specific placeholders within these strings, such as "USER:", which the AI model could recognize and
respond to accordingly. OpenAI then introduced a more organized approach where prompts are a series of
messages, each assigned a specific role. These roles categorize the messages, enhancing the nuance and
effectiveness of communication with the AI.
Primary Roles
- System Role: Guides the AI’s behavior and response style, setting parameters or rules for how the AI interprets and replies to the input.
- User Role: Represents the user’s input – their questions, commands, or statements to the AI.
- Assistant Role:The AI’s response to the user’s input. This role maintains the flow of the conversation.
- Function Role: Focuses on carrying out specific actions or commands the user asks for, such as calculations or fetching data.
1. Setting Up the Project
Step 1: Create a New Spring Boot Project
Use Spring Initializr to create a new Spring Boot project. Include dependencies for Spring Web and Spring AI.
Using Spring Initializr:
- Go to start.spring.io
- Select
- Project: Maven Project
- Language: Java
- Spring Boot: 3.0.0 (or latest)
- Dependencies: Spring Web
- Generate the project and unzip it.
Step 2: Add Dependencies
In your project's pom.xml, add the necessary dependencies for Spring AI.

2. Configuring Spring AI
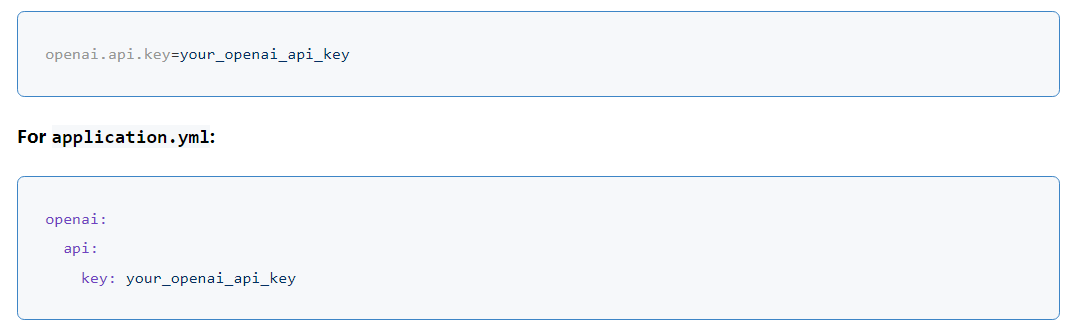
Step 1: Add API Key to Configuration
Add your OpenAI API key to application.properties or application.yml.
For application.properties:
Step 2: Configure Spring Beans
Create a configuration class to set up all necessary Spring beans, including the OpenAiClient, ChatClient, and PromptTemplate.
package com.example.demo.config;

import org.springframework.context.annotation.Bean;
import org.springframework.context.annotation.Configuration;
import org.springframework.ai.openai.OpenAiClient;
import org.springframework.ai.openai.OpenAiChatClient;
import org.springframework.ai.openai.ChatClient;
import org.springframework.ai.prompts.PromptTemplate;

@Configuration
public class AppConfig {

@Bean
public OpenAiClient openAiClient() {
return new OpenAiClient();
}

@Bean
public ChatClient chatClient(OpenAiClient openAiClient) {
return new OpenAiChatClient(openAiClient);
}

@Bean

public PromptTemplate jokePromptTemplate() {
return new PromptTemplate("Tell me a {
adjective} joke about {topic}");
}
}
3. Creating and Using Prompts
Step 1: Create a Service to Use the Prompt
Create a service to use the PromptTemplate for generating prompts and interacting with the AI model through ChatClient
package com.example.demo.service;

import org.springframework.ai.openai.ChatClient;
import org.springframework.ai.prompts.PromptTemplate;
import org.springframework.ai.openai.model.ChatRequest;
import org.springframework.ai.openai.model.ChatResponse;
import org.springframework.beans.factory.annotation.Autowired;
import org.springframework.stereotype.Service;

import java.util.Map;

@Service
public class PromptService {

private final ChatClient chatClient;
private final PromptTemplate jokePromptTemplate;

@Autowired
public PromptService(ChatClient chatClient, PromptTemplate jokePromptTemplate) {
    this.chatClient = chatClient;
    this.jokePromptTemplate = jokePromptTemplate;
}

public String generateJoke(String adjective, String topic) {
    // Create the prompt with the provided variables
    String prompt = jokePromptTemplate.create(Map.of("adjective", adjective, "topic", topic));

    // Create a ChatRequest with the generated prompt
    ChatRequest request = new ChatRequest();
    request.setMessage(prompt);

    // Get the response from the ChatClient
    ChatResponse response = chatClient.sendMessage(request);

 } return response.getReply();
}
Step 2: Create a Controller to Expose the Service
Create a controller to expose an endpoint for generating jokes.
package com.example.demo.controller;

import com.example.demo.service.PromptService;
import org.springframework.beans.factory.annotation.Autowired;
import org.springframework.web.bind.annotation.GetMapping;
import org.springframework.web.bind.annotation.RequestParam;
import org.springframework.web.bind.annotation.RestController;

@RestController
public class PromptController {

private final PromptService promptService;

@Autowired
public PromptController(PromptService promptService) {
   this.promptService = promptService;
}

@GetMapping("/joke")
public String getJoke(@RequestParam String adjective, @RequestParam String topic) {
   return promptService.generateJoke(adjective, topic);
}
}
4. Testing the Integration
Step 1: Run the Application
Run your Spring Boot application. Ensure the application starts without errors.
Step 2: Access the Joke Endpoint
Use Postman, curl, or your browser to test the endpoint. For example:
http://localhost:8080/joke?adjective=funny&topic=technology
You should receive a joke response generated by the AI model based on the prompt template.
Conclusion
This tutorial demonstrated how to set up and use PromptTemplate with ChatClient in a Spring Boot application
using Spring AI. You learned how to create a PromptTemplate, use it in a service, and expose an endpoint to
interact with the AI model. This setup allows you to create dynamic and structured prompts, enhancing the
capabilities of your AI applications. Explore further customization and enhancements to leverage the full potential
of prompts in your Spring Boot projects.
For more detailed information, refer to the Spring AI documentation.