Spring AI Prompt Engineering Tutorial
Author: Yakambram K
Introduction
In generative AI, creating effective prompts is crucial for achieving desired outputs. The quality and structure of
these prompts significantly influence the AI's performance. Thoughtful, prompt engineering can enhance the
effectiveness of AI models, making them more reliable and useful.
Sharing and discussing prompts within the AI
community fosters a collaborative learning environment. Research often involves analyzing and comparing
different prompts to assess their effectiveness.
For instance, starting a prompt with "Take a deep breath and
work on this problem step by step" has been shown to significantly enhance problem-solving efficiency.
Understanding and mastering prompt engineering is an ongoing challenge, especially with the rapid
advancement of AI technologies. Utilizing insights from community discussions and research can improve your
prompt creation strategies.
Key Components of Effective Prompts
When developing prompts, integrate the following key components to ensure clarity and effectiveness:
1.Instructions: Provide clear and direct instructions to the AI, similar to how you would communicate with a
person. Clarity helps the AI understand what is expected.
2.External Context: Include relevant background information or specific guidance for the AI’s response when
necessary. This frames the prompt and aids the AI in grasping the overall scenario.
3.User Input: This is the straightforward part – the user’s direct request or question forming the core of the
prompt.
4.Output Indicator: Specify the desired format for the AI’s response, such as JSON. However, be aware that the
AI might not always adhere strictly to this format.
Providing the AI with examples of the anticipated question-and-answer format can be highly beneficial. This
practice helps the AI understand the structure and intent of your query, leading to more precise and relevant responses.
Let's create a Spring Boot project and discuss how to achieve prompt engineering by using Spring AI.
1. Setting Up the Project
Step 1: Create a New Spring Boot Project
Use Spring Initializr to create a new Spring Boot project. Include dependencies for Spring Web and Spring AI.
Using Spring Initializr:
- Go to start.spring.io
- Select
- Project: Maven Project
- Language: Java
- Spring Boot: 3.0.0 (or latest)
- Dependencies: Spring Web
- Generate the project and unzip it.
Step 2: Add Dependencies
In your project's pom.xml, add the necessary dependencies for Spring AI.

2. Configuring Spring AI
Step 1: Add API Key to Configuration
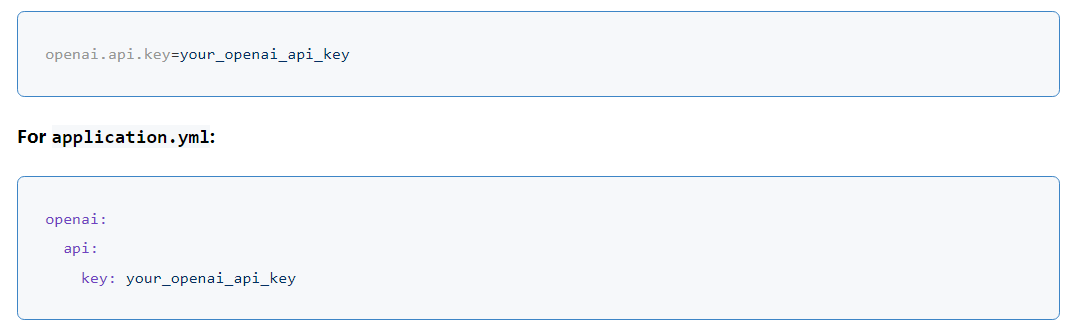
Add your OpenAI API key to application.properties or application.yml.
For application.properties:
Step 2: Configure Spring Beans
Create a configuration class to set up all necessary Spring beans, including the OpenAiClient and ChatClient.
    package com.example.demo.config;

import org.springframework.context.annotation.Bean;
import org.springframework.context.annotation.Configuration;
import org.springframework.ai.openai.OpenAiClient;
import org.springframework.ai.openai.OpenAiChatClient;
import org.springframework.ai.openai.ChatClient;

@Configuration
public class AppConfig {

    @Bean
    public OpenAiClient openAiClient() {
        return new OpenAiClient();
    }

    @Bean
    public ChatClient chatClient(OpenAiClient openAiClient) {
        return new OpenAiChatClient(openAiClient);
    }
}
3. Creating Effective Prompts
Example 1: Providing Clear Instructions
package com.example.demo.service;

    import org.springframework.ai.openai.ChatClient;
    import org.springframework.ai.openai.model.ChatMessage;
    import org.springframework.ai.openai.model.ChatRequest;
    import org.springframework.ai.openai.model.ChatResponse;
    import org.springframework.beans.factory.annotation.Autowired;
    import org.springframework.stereotype.Service;

    import java.util.List;

    @Service
    public class PromptService {

        private final ChatClient chatClient;

        @Autowired
        public PromptService(ChatClient chatClient) {
            this.chatClient = chatClient;
        }

        public String provideInstructions(String userMessage) {
            ChatMessage systemMessage = new ChatMessage("system", "Please provide a detailed and concise response to the user's query.");
            ChatMessage userMsg = new ChatMessage("user", userMessage);

            ChatRequest request = new ChatRequest();
            request.setMessages(List.of(systemMessage, userMsg));

            ChatResponse response = chatClient.sendMessage(request);
            return response.getReply();
        }
    }
Example 2: Including External Context
public String provideContextualResponse(String userMessage, String context) {
        ChatMessage systemMessage = new ChatMessage("system", "Consider the following context: " + context);
        ChatMessage userMsg = new ChatMessage("user", userMessage);

        ChatRequest request = new ChatRequest();
        request.setMessages(List.of(systemMessage, userMsg));

        ChatResponse response = chatClient.sendMessage(request);
        return response.getReply();
    }
Example 3: Specifying Output Format
public String specifyOutputFormat(String userMessage, String format) {
        ChatMessage systemMessage = new ChatMessage("system", "Please provide the response in the following format: " + format);
        ChatMessage userMsg = new ChatMessage("user", userMessage);

        ChatRequest request = new ChatRequest();
        request.setMessages(List.of(systemMessage, userMsg));

        ChatResponse response = chatClient.sendMessage(request);
        return response.getReply();
    }
4. Demonstrating Use Cases
Step 1: Define Use Cases in the Service
@Service
        public class UseCaseService {

            private final ChatClient chatClient;

            @Autowired
            public UseCaseService(ChatClient chatClient) {
                this.chatClient = chatClient;
            }

            public String provideInformation(String userMessage) {
                ChatMessage systemMessage = new ChatMessage("system", "You are a knowledgeable assistant.");
                ChatMessage userMsg = new ChatMessage("user", userMessage);

                ChatRequest request = new ChatRequest();
                request.setMessages(List.of(systemMessage, userMsg));

                ChatResponse response = chatClient.sendMessage(request);
                return response.getReply();
            }

            public String performCalculation(String userMessage) {
                ChatMessage systemMessage = new ChatMessage("system", "You are an assistant that can perform calculations.");
                ChatMessage userMsg = new ChatMessage("user", userMessage);

                ChatRequest request = new ChatRequest();
                request.setMessages(List.of(systemMessage, userMsg));

                ChatResponse response = chatClient.sendMessage(request);
                return response.getReply();
            }

            public String generateContent(String adjective, String topic) {
                String userMessage = "Tell me a " + adjective + " joke about " + topic;
                ChatMessage systemMessage = new ChatMessage("system", "You are an assistant that can generate creative content.");
                ChatMessage userMsg = new ChatMessage("user", userMessage);

                ChatRequest request = new ChatRequest();
                request.setMessages(List.of(systemMessage, userMsg));

                ChatResponse response = chatClient.sendMessage(request);
                return response.getReply();
            }
        }
Step 2: Create a Controller to Expose the Service
package com.example.demo.controller;

            import com.example.demo.service.UseCaseService;
            import org.springframework.beans.factory.annotation.Autowired;
            import org.springframework.web.bind.annotation.GetMapping;
            import org.springframework.web.bind.annotation.RequestParam;
            import org.springframework.web.bind.annotation.RestController;

            @RestController
            public class UseCaseController {

                private final UseCaseService useCaseService;

                @Autowired
                public UseCaseController(UseCaseService useCaseService) {
                    this.useCaseService = useCaseService;
                }

                @GetMapping("/provideInformation")
                public String provideInformation(@RequestParam String userMessage) {
                    return useCaseService.provideInformation(userMessage);
                }

                @GetMapping("/performCalculation")
                public String performCalculation(@RequestParam String userMessage) {
                    return useCaseService.performCalculation(userMessage);
                }

                @GetMapping("/generateContent")
                public String generateContent(@RequestParam String adjective, @RequestParam String topic) {
                    return useCaseService.generateContent(adjective, topic);
                }
            }
5. Testing the Integration
Step 1: Run the Application
Run your Spring Boot application. Ensure the application starts without errors.
Step 2: Access the Interaction Endpoints
Use Postman,curl, or your browser to test the endpoints with diffrent roles and inputs. For examples:
1. Providing Information
http://localhost:8080/provideInformation?userMessage=What is the capital of France?2.Performing Calculations
http://localhost:8080/performCalculation?userMessage=What is 10 + 15?3.Generating Content
You should receive response generated by the AI model based on the role-based messages.
Conclusion
This tutorial demonstrated how to set up and use roles in Spring AI to manage AI Interactions in a Spring Boot
application. You learned how to define system, user, assistant, and function roles, use them in a service, and
expose endpoints to interact with the AI model. Different use cases were provided to show how roles can be
used effectively in various scenarios.